
A recruiter clicks the GitHub link on your resume and lands on a page with no public repositories. Or they find 40 forks of tutorial projects, none with a description. Either way, the link that was supposed to help you raises questions instead.
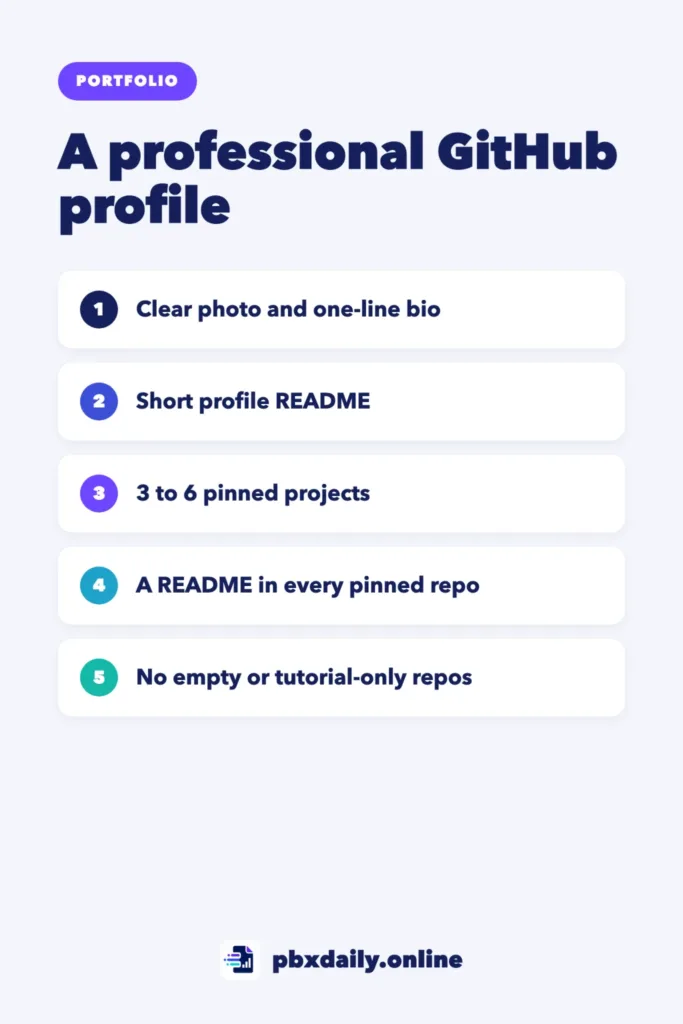
The good news is that you can make your GitHub profile look professional in an afternoon. A clear photo and bio, a short profile README and a few pinned projects matter more than a busy contribution graph. This guide covers five steps in order of impact and ends with a checklist to use before you share the link.
What Reviewers Look At on a GitHub Profile
Whoever opens your profile, a recruiter or a developer on the hiring team, usually spends little time on it at first. They want quick answers:
- Who is this person, and what kind of role do they want?
- Is there work here I can open and understand?
- Does that work match the job, and does it look finished?
The top of your profile answers the first question. Your pinned projects answer the rest.
Step 1: Photo, Name and Bio
These are the first things a visitor sees, so fix them first. You can edit all of them with the Edit profile button under your profile picture.
- Photo: A clear, recent photo of your face with a plain background works best. Use the same photo as on your resume and LinkedIn. If you prefer not to show your face, choose a simple, neutral image rather than the default pattern.
- Name: Use the same name that appears on your resume.
- Bio: One line with your target role and main tools. For example: “Junior front-end developer. HTML, CSS, JavaScript and React. Open to remote roles.”
- Location and links: Add your city or country, your portfolio site and your LinkedIn profile.
Step 2: Write a Short Profile README
A profile README is a Markdown file that GitHub shows at the top of your profile. If Markdown is new to you, our guide on how to write a GitHub README for portfolio projects covers the basics and explains how a profile README differs from a project README.



How to Create It
According to GitHub’s guide to managing your profile README, GitHub displays it when you have a public repository whose name matches your username, with a README.md file in its root that contains any content. To create it:
- In the upper-right corner of any page, select the + icon, then click New repository.
- Under “Repository name”, type a name that matches your GitHub username. If your username is “octocat”, the repository name must be “octocat”.
- Optionally, type a description in the “Description” field.
- Select Public.
- Toggle Add README to On.
- Click Create repository.
- Above the right sidebar, click Edit README.
The new file comes with a starter template. Replace it with your own text.
A Short Template You Can Copy
Keep it short and plain. A reviewer should finish it in under a minute.
# Hi, I'm Ana Souza

Junior front-end developer based in Lisbon, Portugal. I build responsive,
accessible websites with HTML, CSS and JavaScript, and I'm learning React.

Before tech, I taught high school for six years, so I'm used to
explaining complex topics simply.

## What I'm working on
- A budget tracker for freelancers (JavaScript, Local Storage)
- Writing tests with Jest

## Featured projects
- [Budget Tracker](https://github.com/your-username/budget-tracker): track expenses by month and category
- [Recipe Finder](https://github.com/your-username/recipe-finder): search recipes using a public API

## Contact
- Portfolio: https://your-site.com
- LinkedIn: https://www.linkedin.com/in/your-name
- Email: you@example.com

Open to junior front-end roles, remote or hybrid.
What to Leave Out
- Walls of badges and skill icons. A few tools in plain text are easier to read.
- Stats cards and trophies. They add visual noise and say little about your actual work.
- Every language you’ve ever touched. List only what you could discuss in an interview.
Step 3: Pin Your Best Projects
Pinned projects are where reviewers go next. GitHub lets you pin up to six repositories and gists combined, and three to six strong projects is a good target.
How to Pin Repositories
These steps follow GitHub’s guide to pinning items to your profile:
- In the top right corner of GitHub, click your profile picture, then click Your profile.
- At the top of the “Popular repositories” or “Pinned” section, click Customize your pins.
- Optionally, type a name in the “Filter repositories and gists” field to find a project quickly.
- Select up to six repositories and gists, combined.
- Click Save pins.
To change the order, click the handle in the upper-right corner of a pin and drag it to a new location. Put your strongest project first.
What to Pin by Target Role
| Target role | What to pin |
|---|---|
| Front-end developer | Deployed sites or apps with live links, one project that uses a framework or an API |
| Back-end developer | An API with clear documentation, a project with a database, tests that run |
| Data analyst | Notebooks or reports that start with a question and end with written conclusions |
| QA and testing | An automated test suite for a demo app, a sample bug report |
| IT support | Scripts that automate a task, troubleshooting guides you wrote |
Short on projects? Browse these portfolio project ideas for beginners, organized by target role. Websites also need a working demo, so learn how to deploy your first website for free.
Step 4: Clean Up What’s Public
Below your pins, reviewers can open your full repository list. A little tidying helps.
- Empty repositories: Delete them or add the work you planned.
- Untouched forks: Forks with no commits from you add clutter. Remove the ones you don’t need.
- Tutorial projects: Keep them public only if you added something of your own and say so in the README. Otherwise, make them private.
- Names and descriptions: Rename repositories like “test2” and give each one a one-line description.
- Secrets: Check that no API key, password or personal data was ever committed.
If most of your repositories come from courses, our guide on how to escape tutorial hell and build on your own can help you create work that’s clearly yours.
Step 5: Show Steady Activity (Without Faking It)
A steady contribution graph suggests you code regularly, but a sparse one won’t sink a profile with strong projects. Don’t fill it with empty commits or scripts. Experienced reviewers notice, and it makes them doubt the rest of your profile.
If your real work happens in private repositories, at a job or for a client, you can show that activity. GitHub’s guide to visibility settings for private contributions describes this as anonymized activity from private and internal repositories. The steps:
- In the top right corner of GitHub, click your profile picture, then click Your profile.
- Above the contribution calendar, click Contribution settings.
- Click Private contributions to show or hide private contributions on your profile.
The honest way to build activity is to commit small changes as you work. Our guide to Git and GitHub commands for your first project covers that workflow.
Checklist to Make Your GitHub Profile Look Professional
- A clear photo that matches your resume and LinkedIn
- Your real name and a one-line bio with your target role
- Location plus links to your portfolio and LinkedIn
- A short profile README in a public repository named after your username
- Three to six pinned projects that fit the roles you’re applying for
- A clear README and description in every pinned repository
- Live links that work, tested on your phone
- No empty repositories or untouched forks in public view
- No API keys, passwords or personal data in any public repository
- Private contributions visible, if your real work happens in private repositories
Before you share the link, open your profile in a private browser window to see it as a visitor would. Then add it to the top of your career change resume for tech.
GitHub Profile: Frequently Asked Questions
How do I customize my GitHub profile?
Start with the basics: a clear photo, your name, a one-line bio, your location and links to your portfolio. Then create a public repository with the same name as your username and add a README.md file to get a profile README. Finally, use Customize your pins to show up to six repositories and gists that represent your best work.
Do recruiters actually look at GitHub?
It depends on the company and the role. Some recruiters only check that the link works and the profile looks maintained, while technical interviewers may open your projects and read the code. For junior developer roles, your GitHub profile can be your main proof of skill, so treat it as part of your application.
Should I use a profile README generator?
You can use one as a starting point, but edit the result heavily. Generators tend to add many badges, stats cards and icons that make profiles look alike and push your actual introduction down the page. A few plain sentences about who you are, what you build and how to reach you usually work better with reviewers.
Sources
- GitHub Docs: Managing your profile README
- GitHub Docs: Pinning items to your profile
- GitHub Docs: Manage visibility settings for private contributions and achievements
Your Next Step
Set aside one hour this week. Update your photo and bio, create your profile README from the template above and pin your three best projects. Then make sure the rest of your work backs it up with our guide to what to include in a beginner developer portfolio.

Luiz Loiola is a digital strategist and the founder of PBX Daily. He writes about technology, programming, artificial intelligence, freelancing, remote work, career change, and online income, helping beginners and professionals build practical digital skills, create new career opportunities, and compete in the global online market.