
Open a typical beginner repository and you’ll often find a README with one line: the project’s name. Anyone reviewing your work has to guess what it does, whether it works and why it matters. Most people won’t guess. They’ll move on.
A good GitHub README for portfolio projects fixes that in a few seconds. It tells the reader what the project is, shows it working and points to the parts worth their time. This guide gives you a template you can copy, explains each section and lists the mistakes that make reviewers leave.
What Reviewers Look For First
Whoever opens your repository, whether a recruiter or a developer on the hiring team, usually wants three answers quickly:
- What does this project do, and who is it for?
- Can I see it working?
- What did this person actually build or decide?
GitHub displays the README on the repository’s main page (see About READMEs), so it’s the first thing visitors read. Put those three answers at the top.
A README Template for Portfolio Projects
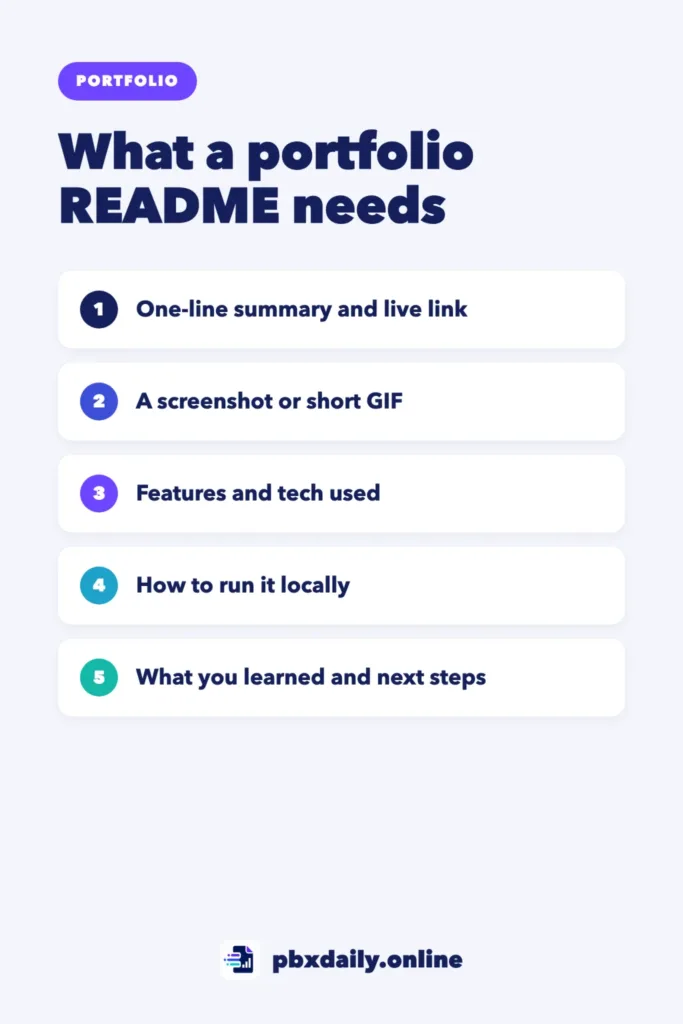
Copy this structure into the README.md file at the root of your repository and replace the placeholders:
# Project Name
One sentence: what it does and who it's for.
**Live demo:** https://your-username.github.io/project-name

## Features
- What a user can do, in one line
- Another key feature
## Built with
HTML, CSS, JavaScript
## How to run it locally
1. Clone the repository
2. Open index.html in your browser
## What I learned
Two or three sentences about a problem you solved and why you chose your approach.
## Next steps
What you would improve or add with more time.Section by Section
Title and One-Line Summary
Name the project and describe the outcome, not the technology. “A budget tracker that helps freelancers separate personal and business expenses” says much more than “JavaScript app”.



Live Demo and Screenshot
A working link and a screenshot or short GIF prove the project runs. Check the link on your phone before you share it, and keep the image reasonably small so the page loads quickly.
Features
Three to five bullets describing what a user can do. Write them from the user’s point of view: “Filter expenses by month” rather than “Implemented a filter function”.
Built With
List the main tools only. A long list of every library you touched hides what you actually know well.
How to Run It Locally
Short, numbered steps that someone can follow without guessing. If you’re new to Git, start with Git and GitHub for beginners. If the project needs an API key or a setup step, say so here.
What I Learned
This is where you stand out. Describe one problem you ran into, the options you considered and the decision you made. In a few sentences, it works as a mini case study.
Next Steps
Show that you can evaluate your own work. What would you fix, add or refactor with more time?
Markdown Basics You’ll Actually Use
READMEs are written in Markdown, a simple formatting syntax that GitHub renders automatically. You only need a few elements, all covered in GitHub’s basic writing and formatting syntax guide:
| Element | Markdown |
|---|---|
| Headings | # Title and ## Section |
| Bold text | **text** |
| Bulleted list | - item |
| Link | [text](https://example.com) |
| Image |  |
| Code block | Three backticks on the line before and after the code |
Mistakes That Make Reviewers Leave
- The default one-line README. It suggests the project was never finished.
- No live link, or a broken one. Reviewers rarely clone a beginner project to see it run.
- Setup instructions before any explanation. Say what the project does before explaining how to install it.
- Huge, blurry or outdated screenshots. One clear image of the current version is enough.
- Presenting tutorial features as your own. If you followed a tutorial, say so and highlight what you added.
Project README vs. Profile README
A project README explains one repository. A profile README appears at the top of your GitHub profile and introduces you as a person. Both matter, but start with the projects you want reviewers to open. Our guide on how to make your GitHub profile look professional covers the profile README step by step. For the bigger picture, see what to include in a beginner developer portfolio.
Sources
- GitHub Docs: About READMEs
- GitHub Docs: Basic writing and formatting syntax
- GitHub Docs: Managing your profile README
Your Next Step
Pick your strongest project, paste the template into its README and fill in every section today. It’s one of the quickest ways to make your portfolio easier to understand at a glance.

Luiz Loiola is a digital strategist and the founder of PBX Daily. He writes about technology, programming, artificial intelligence, freelancing, remote work, career change, and online income, helping beginners and professionals build practical digital skills, create new career opportunities, and compete in the global online market.